Investigation: Construct Parallel lines
Compass and straightedge construction
There are a few ways to construct lines that are parallel to each other. This method is going to construct a pair of parallel lines by starting with a line and point for the constructed line to pass through. This method is called the angle copy method as it uses corresponding angles to create the parallel lines.
Steps for construction
- Start with a line (\overleftrightarrow{AB})
- Place a point where you want the parallel line to pass through (C)
- With the ruler, draw a line through C to any point M on line AB.
- Place the compass on M, with the width set to just over half the distance of MC and draw an arc across both lines
- Keep the width the same and move the compass to C. Draw another arc.
- Move the compass to the intersection of the first arc and line MC, and measure the distance from there to where it crosses line AB.
- Mark this distance on the upper arc. (call the intersection D)
- Draw a line through C and D. This line is parallel to \overleftrightarrow{AB}.
Dynamic software construction
We can also construct a set of parallel lines using dynamic geometry software. Press the pause/play button in the applet below to see the steps of the construction in action. To test the construction, move the points around to see that the lines are always parallel.
Now it's your turn! Repeat the steps for construction to construct your own set of parallel lines. Click here to open the applet in a larger web browser window.
Steps for construction using technology
 |
 |
 |
 |
 |
 |
| Move Tool | Point Tool | Line Tool | Line Segment Tool | Compass Tool | Polygon Tool |
- Use line segment tool, then the point tool to draw an arbitrary point C not on a line\overleftrightarrow{AB}.
- Use the point tool to plot a third point D anywhere on \overleftrightarrow{AB}.
- Use the line tool to draw a line through C and D.
- Use the point tool to plot a point E such that it is on \overleftrightarrow{CD} and closer to C than it is to D.
- Select the compass tool. Construct a circle with radius equal to ED and center at D.
- With the compass tool again, construct a circle with radius equal to ED and center at C.
- Use the point tool to label the intersection of circle C and \overleftrightarrow{CD}. Label the point F.
-
Use the point tool to label the intersection of circle D and \overleftrightarrow{AB}. Label the point G.
-
Select the compass tool create a circle with radius equal to GE and center at F.
-
Using the point tool, label the intersection of circle F and circle C. Call it point H.
-
Use the line tool to draw a line through points H and C. This line is parallel to \overleftrightarrow{AB}.
- Use the move tool to drag the points and double check that your construction holds.
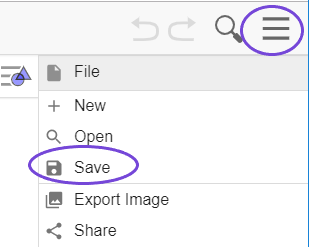
Be sure to save your construction often, especially if you would like to come back to it at a later time. If you refresh this page before saving, your work will be lost.
