
Create grid maps (Investigation)
In this set of activities, you're going to make a map of the classroom, and use it to help someone find the treasure.
Getting started
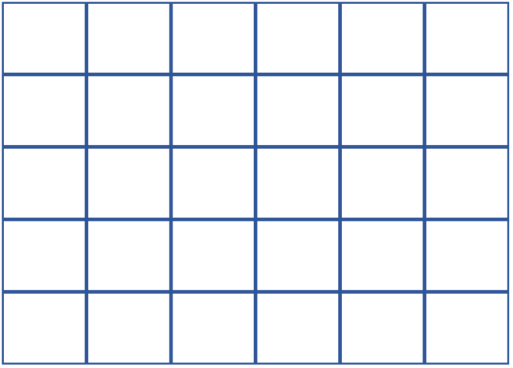
Before you start, you'll need a sheet of paper with a grid on it. You can make your own by drawing lines vertically, and then horizontally, or you can even make one by folding your paper. You may want to take some big steps to see how long and wide the classroom is, before you make your map. You can then use 1 grid for each big step. Here's what a grid map might look like:
Activity 1 - making a treasure map
Labelling the grid
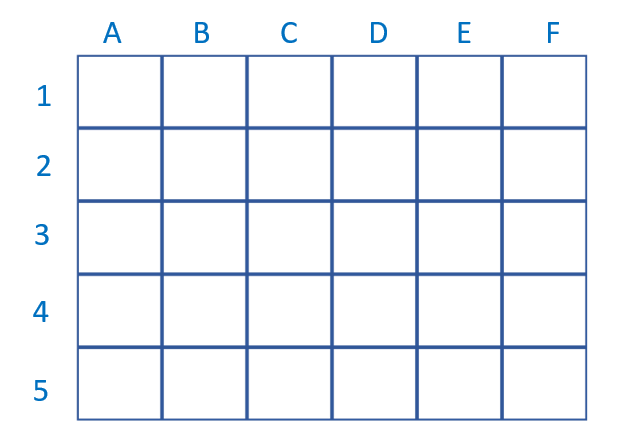
Across the top of your grid, label each grid with a letter of the alphabet, starting with A. Next, on the left hand side of your grid, label each square going down, with a number, starting at 1. Here's what our grid looks like:
Around the room
Look around the classroom, and think of your room being divided into separate sections, like your grid paper. Now you need to draw in some symbols that show where 5 things in your room are located. Some things you may wish to include are:
- the teacher's desk
- your desk, or table
- the door to the classroom
- a clock
- where the textas or pencils are stored
and two more things that you can choose. One of them can be called the 'treasure', so it will be a secret. You must be able to see them in your classroom though. Imagine having a bird's eye view, for any things that may not be on the ground!
For each of these items, use a symbol that helps to show what it is you are mapping. You might use things like this:

Be sure to draw your symbols so that they are inside a grid, not over the lines.
grid references
For each item, write down what it is you have mapped, followed by its grid reference. To find the grid reference, follow these steps:
- Locate the item you are going to list on your grid.
- Look up to the top, and write down the letter of the alphabet that is directly above your symbol.
- Look to the left, and write down the number that is in line with your symbol.
Activity 2 - writing directions
Now you are going to write out directions for how someone can find each of your items, including the treasure. Pick one of your items as a starting point, and use words like:
- walk forward 1 step
- turn left
- turn right
- stop
The treasure should be the last item they locate.
Activity 3 - Test out your map
With a partner, ask them to follow the written instructions from Activity 2, until they find the treasure!
A variation
If your partner has difficulty finding the treasure, give them your grid map. Tell them the grid reference that you wrote down for your treasure. Ask them to look at the grid map, and use that to find the treasure in the room.
How did you go?
Did your partner find the treasure using the instructions?
Did your partner find the treasure using the grid reference you gave them? Were your instructions clear, or could you make some changes to improve them?